Petya Ransomware Analysis Part I
Introduction
What makes Petya a special ransomware is that it doesn't aim to encrypt each file individually, but aims for low-level disk encryption. In this series, we'll be looking into the "green" Petya variant that comes with Mischa. Mischa is launched when Petya fails to run as a privileged process. All that Mischa does is encrypt files one by one, then drop a web page and a text file in each directory.
The sample
The sample I stumbled upon comes disguised as a Resume. The archive contains the following files:
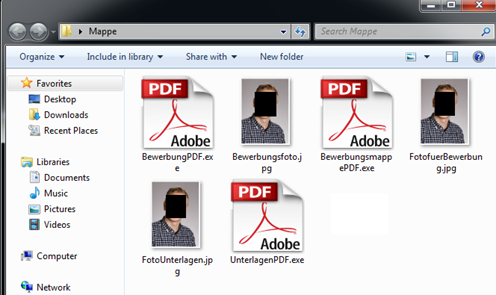
When the victim opens BewerbungPDF.exe, for example, he is prompted to run it as an administrator.
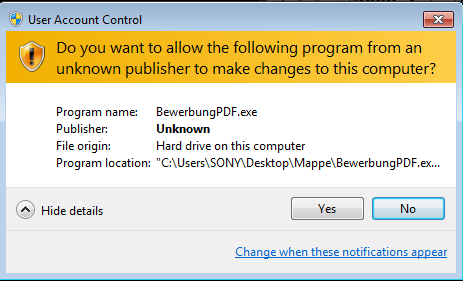
If he denies, Mischa will run and encrypt all files (file by file) as a typical ransomware does. However, if the victim accepts it is Petya which will get a chance to run and perform the low-level disk encryption.
Petya BSODs the system using NtRaiseHardError and tricks the victim into thinking that CHKDSK is repairing the disk.
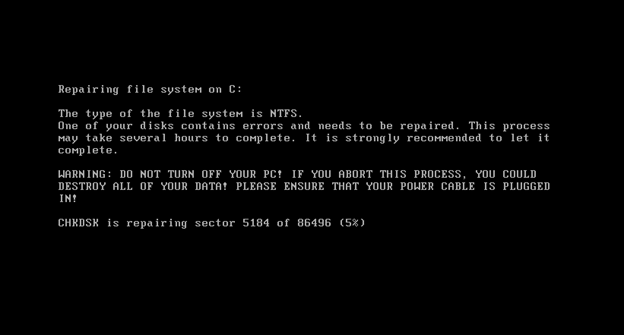
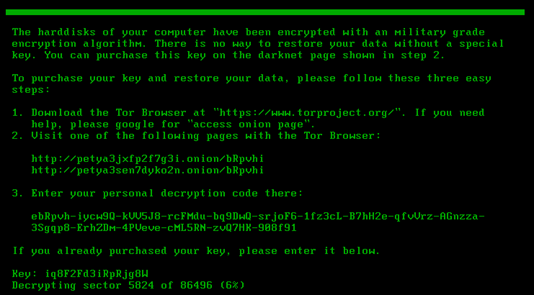
When the machine reboots, the malicious bootloader executes and demands a ransom:
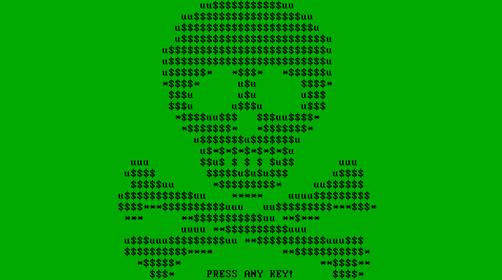
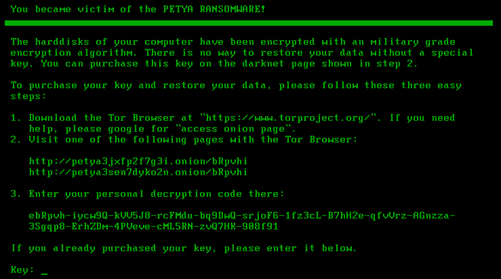
Only when the user enters the decryption key that the data will be decrypted, and the system disinfected.
Unpacking
The unpacking process is quite easy, the only technique the authors used serves to bypass sandbox detection. It consists of executing long chunks of junk code in which some important code exists, so these chunks cannot just be removed. Let's go through the important steps if the unpacking process.
The function of interest is sub_4531F0; it starts by executing some junk code involving long loops that take some minutes, then it gets the address of VirtualAlloc and calls it with PAGE_EXECUTE_READWRITE. Next, some junk code is executed wherein the relevant parts 97702 bytes (also the size of the allocated chunk ) are moved from 0x00453BD6 to the allocated chunk. The instruction JMP EAX at 0x00453bab is then executed jumping to the start of the allocated chunk.
The first 1445 bytes of the allocated area represent the unpacking stub. The stub is used to decrypt a DLL file residing just after it. Upon the end of the decryption process, a jump is made to an exported function of the DLL called: _ZuWQdweafdsg345312.
Loading Petya's DLL
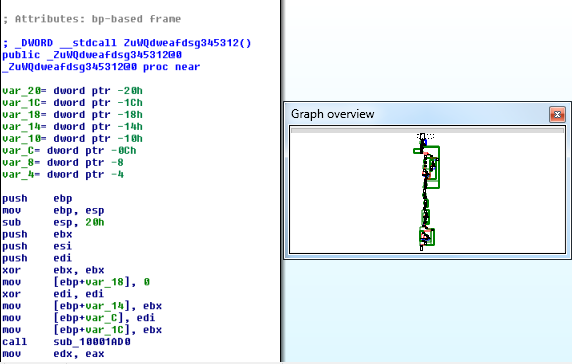
The routine is quite lengthy, let's see what it does superficially:
- Search for the MZ header of the unpacked DLL file: this is done by calling a function that will return its return address the caller. Then the search is done backwards.
- Traverse through the list of loaded modules ( PEB.Ldr->InMemoryOrderModuleList)
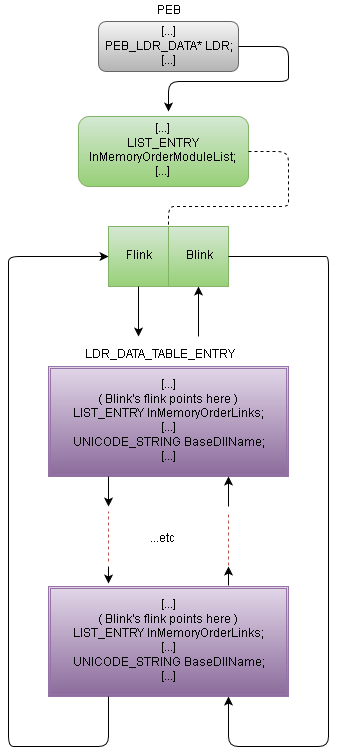
- For each BaseDllName in the doubly linked list calculate a hash, compare it to hashes of interest (ntdll.dll hash).
- If found, traverse through the export table of the DLL and search through the exported functions names. The hash comparison also does this search.
-
If the function of interest is found, its ordinal is used to get its address ( AddressOfFunctions[Ordinal] + DllBase ), and the loop continues until all the functions are found.
- These functions are: LoadLibraryA, GetProcAddress, NtFlushInstructionCache and VirtualAlloc
- The malware is now ready to start the process of loading the DLL (simulate the process of the Windows loader).
- First, it copies the whole PE file into a newly allocated memory space of SizeOfImage size. All the modifications are done in the next steps concern this copy of the file.
- Load the necessary libraries.
- Get the addresses of imported functions.
- Set imports, and relocations.
- Now that the DLL is loaded, DllMain is called.
Decrypting the xxxx section:
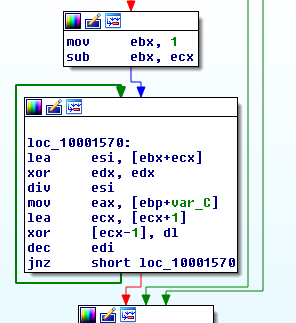
Following the execution from DllMain, we soon find ourselves in the first routine of interest sub_1000D7E0. It starts off by calling sub_100014F0 that I renamed to Decrypt_xxxx. This routine takes an output pointer to a structure as a parameter first locates the virtual address .xxxx section's header address. Then from it, finds the pointer to the first byte of this encrypted section. The section is decrypted using this simple xoring algorithm:
Petya or Mischa?
When returning from decrypt_xxxx, the sample does the following:
- OpenProcessToken is called to get a handle to the current process's token.
- Call GetTokenInformation with TokenElevated TokenInformationClass.
-
Petya gets to run directly if:
- Calls to OpenProcessToken and GetTokenInformation were successful
- TOKEN_ELEVATED.TokenIsElevated != 0 , meaning the token is elevated.
If one of the previous conditions isn't met, the user is prompted to choose whether to run a new process as privileged or not.
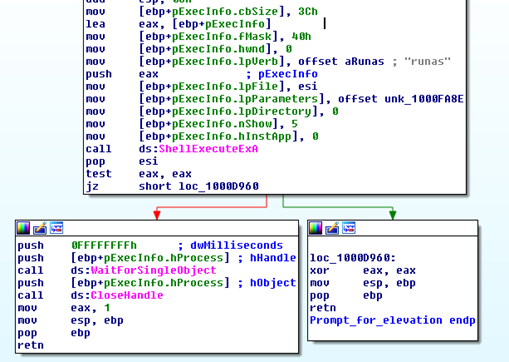
When the user clicks yes, the new privileged process starts executing ( it starts by unpacking, loading the DLL then finding that the token is indeed privileged and finally taking the low-level disk encryption code path) while the current process waits infinitely until the privileged process is terminated. However, if the user doesn't choose to run the process as administrator, the function returns 0 which means that Mischa will run.
In the next part, we'll be looking at how Petya infects the system and how it does the low-level disk encryption.
Resources
Sample download here


