Petya Ransomware Analysis Part II
In the previous part, we stopped right at when the decision of which approach to use to encrypt the data, i.e. either Petya or Mischa. In this article, we will see what happens when Petya executes.
At first, the sample will try to get the physical drive on which Windows is installed. To do so, it calls a routine that I labeled: GetWindowsPhysicalDrive
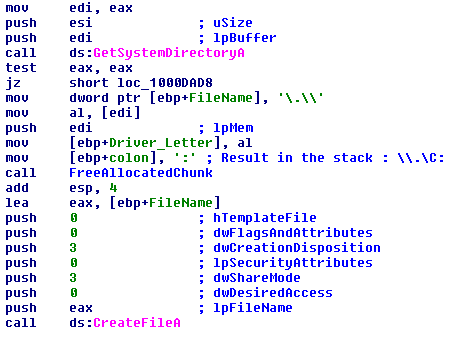
It starts off by getting a handle on the logical drive on which Windows is installed.

Then it sends an I/O request to the target volume to get the disk number. The result is the physical drive that contains the Windows installation e.g: .PhysicalDrive0. This will be used to open a handle to the drive, as you can see in the next figure, and write to its sectors.


Next, the sample queries the disk's partition information by sending the IOCTL_DISK_GET_PARTITION_INFO_EX request to the underlying disk device. Upon returning from DeviceIoControl, the OutBuffer contains a PARTITION_INFORMATION_EX structure. The sample is only interested in the partition style to determine how the overwriting will be done (the PartitionStyle field)
typedef enum _PARTITION_STYLE
{
PARTITION_STYLE_MBR = 0,
PARTITION_STYLE_GPT = 1,
PARTITION_STYLE_RAW = 2
} PARTITION_STYLE;
If DeviceIoControl failed, the raw partition style is used by default.
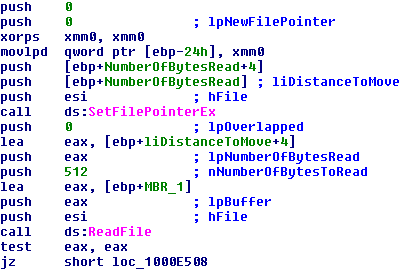
If the partition style is MBR, a handle is opened to the physical disk and the file pointer is set to the beginning of the first disk sector (the MBR) before it's read into the buffer.
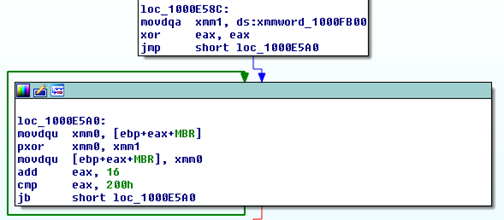
The read MBR stored in the buffer is then encrypted by XORing each of the 512 bytes with 0x07.
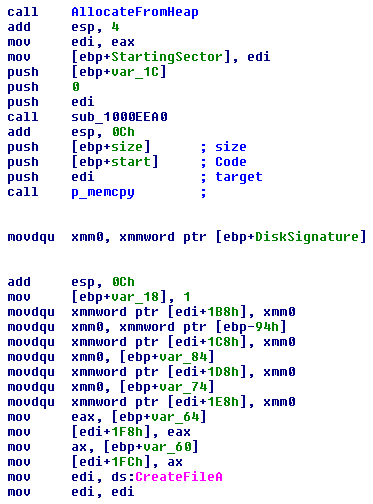
We see afterward that an allocation is made, and the .xxxx section (except the first 16 bytes) is copied to the allocated memory. What Petya does next is modify the first 512 bytes of the allocated memory so that the only difference between it and between the first sector of the disk is the bootstrap code area. It starts from the Windows signature field at offset 0x1b8 and copies all the bytes until the end of the 4th partition entry.
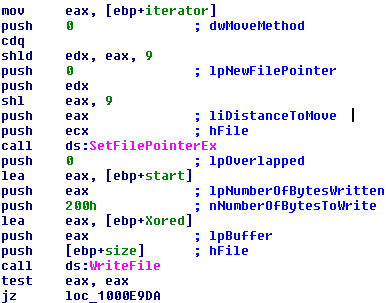
Next, we enter a loop where each sector, starting with the second one, of course, is read into a memory buffer, XORed with 0x07 and then written back to the physical drive. The loop stops at the 34th sector.
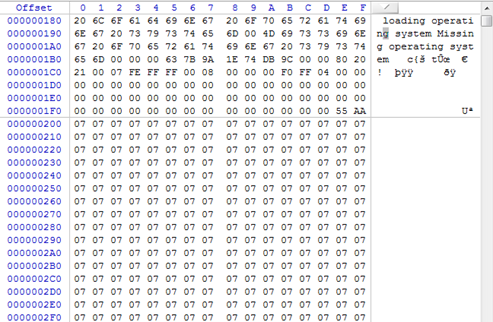
Visualized using WinHex Disk Editor
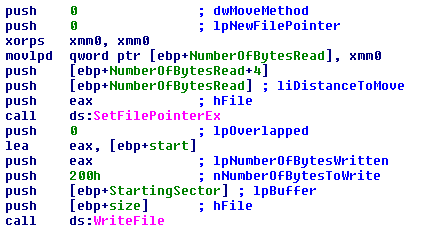
When we get out of the loop, the sample starts by overwriting the MBR with the one constructed before in the allocated memory region.
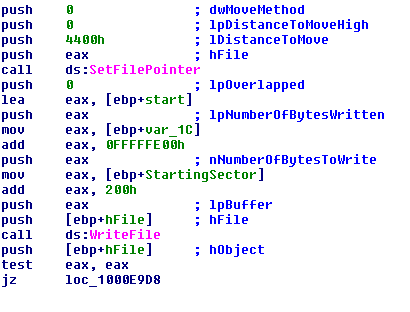
The sample moves to the 34th sector now, and writes the important code (and data) that will be jumped to when the machine is turned on; it takes 18 sectors exactly.
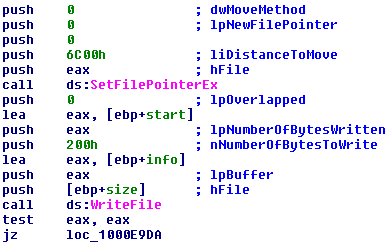
Then Petya writes a structure built previously in this same routine at the 54th sector. This structure contains the following information:
This information will be used by the code that will execute after the machine boots to encrypt the MFT (Master File Table).
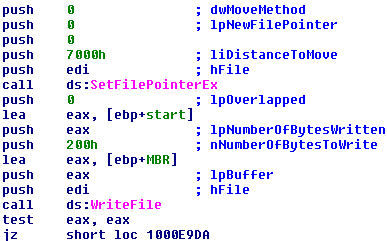
After writing 512 bytes of 0x07 to the 55th sector, Petya writes the encrypted MBR ( XORed with 0x07 ) to the 56th sector of the disk. And that's it! Petya successfully owned the machine, and all it needs to do now is to shut it down by intentionally BSODing the machine.
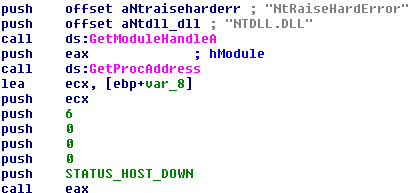
It does so by first adjusting its token to have the SeShutdownPrivilege privilege and then by calling ntdll's NtRaiseHardError with STATUS_HOST_DOWN.
Let's take a look at the bootloader now:
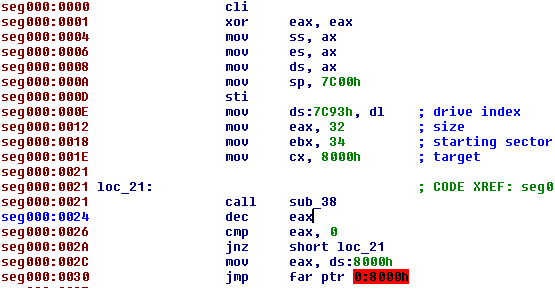
What the bootloader does (in sub_38) is read 32 sectors from the disk starting from sector 34 into the address 0x8000 then jumps to the code there.
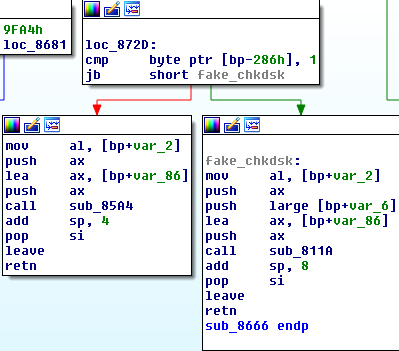
A byte is checked to see if it's the first time run. If that's true, the fake chkdsk is shown while Petya is encrypting the MFT. This byte is subsequently zeroed, and when the machine reboots, Petya requests a decryption key.
Resources:
Sample download: http://goo.gl/zxUTrC


